
If you’ve ever scrolled Instagram and stopped dead at a jaw-dropping cliff shaped like a T. rex, you’ve already seen kelingking beach photos. And trust me, the real thing hits even harder. I stood at that viewpoint for the first time in March 2023, and my hands were literally shaking before I even touched the camera. That kind of place does something to you.
Getting great Kelingking beach photos isn’t just about luck or having the fanciest lens. It’s about showing up at the right time, standing in the right spot, and, honestly, knowing what most tourists get completely wrong. This guide is built on real visits, real lighting failures, and a few shots that turned out better than expected.
Why Kelingking Beach Looks So Photogenic
The geometry here is almost unfair. The limestone peninsula juts out like a dinosaur’s head over turquoise water, with a half-moon beach sitting below that you can only reach by a terrifying 45-minute descent. The contrast between deep green jungle, bone-white cliffs, and that electric blue ocean needs no filter, which is rare.
National Geographic Traveller’s 2022 Indonesia feature ranked Nusa Penida among the top 10 most visually dramatic island destinations in Southeast Asia. Kelingking is the reason it made that list.
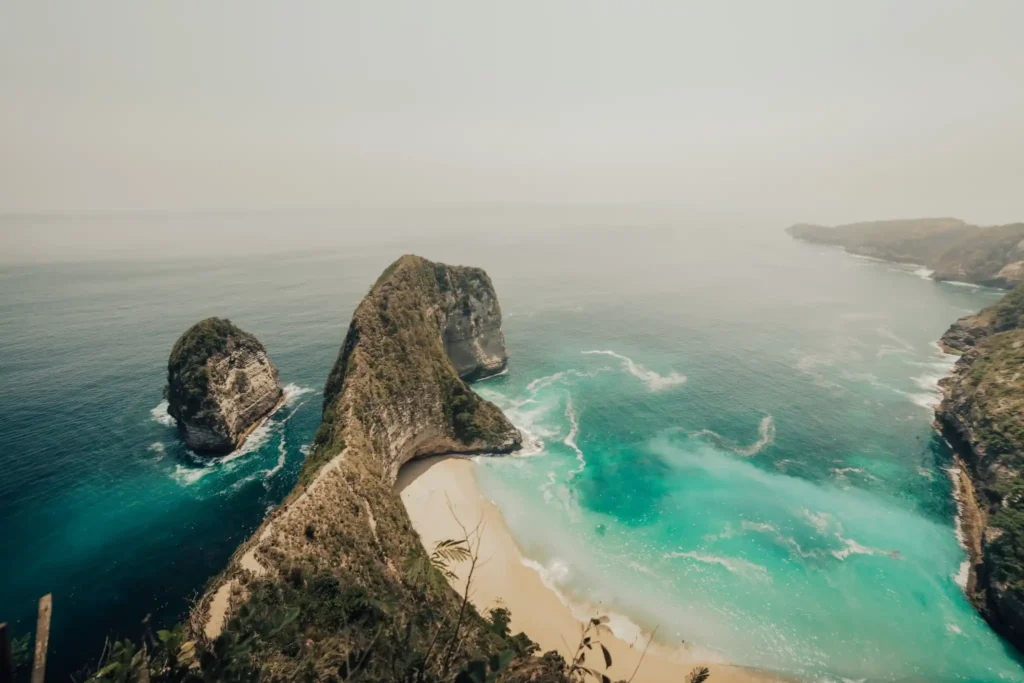
The cliffs reach roughly 165 meters above sea level. The peninsula is narrow enough that from the right angle, you get total ocean on both sides. Wide-angle shots don’t just work here; they feel essential.
Discover the Scenic Charm of Kelingking Beach: Read more in Kelingking Beach Guide: I Almost Turned Back on Bali’s Famous T-Rex Hike.
Best Time to Take Kelingking Beach Photos
Golden hour at Kelingking runs from about 6:00 AM to 8:00 AM. At that hour, the mist hasn’t fully burned off, the light is warm and directional, and there are maybe five other people at the viewpoint. By 9:30 AM, it’s a completely different story.
Sunset is beautiful but often hazy. The cliffs face roughly northwest, so afternoon light creates harsh shadows across the peninsular face. Overcast days are underrated, though, flat light pulls out rock texture that direct sun completely kills.
Here’s a quick breakdown of the best shooting windows at Kelingking by time of day:
| Time of Day | Light Quality | Crowd Level | Best For |
| 6:00 – 8:00 AM | Warm golden, directional | Very low | Wide shots, portraits |
| 8:00 – 10:00 AM | Bright, slightly harsh | Growing quickly | Detail & close-ups |
| 10:00 AM – 3:00 PM | Flat/harsh overhead | Peak crowds | Avoid if possible |
| 3:00 – 5:30 PM | Warm side light | Moderate | Silhouettes, color |
| 5:30 – 6:30 PM | Sunset glow | Busy again | Golden cliff shots |
Most Popular Viewpoints for Kelingking Beach Photos
There are really three main positions photographers use. The main paved viewpoint is where 90% of visitors stop, and for good reason. It gives you a full view of the T. rex peninsula from above. But the angles that go viral usually come from somewhere slightly different.
- Main upper viewpoint: Classic wide-angle shot of the full peninsula. Still the most iconic.
- Left edge of the fence: Lean slightly left, and you cut out most crowds while adding ocean depth.
- Path to the beach (first 10 minutes down): Looking back up at the cliff gives a perspective most people never try.
- Rock ledge near the sign: Elevated angle that compresses the background, great for telephoto work.
The descent to the beach is genuinely risky. One photographer I met, a Jakarta-based shooter named Rudi, abandoned the hike halfway through the rainy season when the path got slick. Smart call.
Why Kelingking Beach Is a Dream Spot for Photography: Read more in Nusa Penida Best Viewpoints That Will Make You Put Your Phone Down and Just Stare.
What Is the Most Iconic Angle for Kelingking Beach Photos?
The most iconic shot is taken from the main upper viewpoint, looking southwest. Stand slightly left of center, use a wide-angle lens (16–24mm on full frame), and include the foreground rock for depth. Shoot at f/8 to f/11 for full sharpness. This is the angle that made Kelingking famous on Instagram.
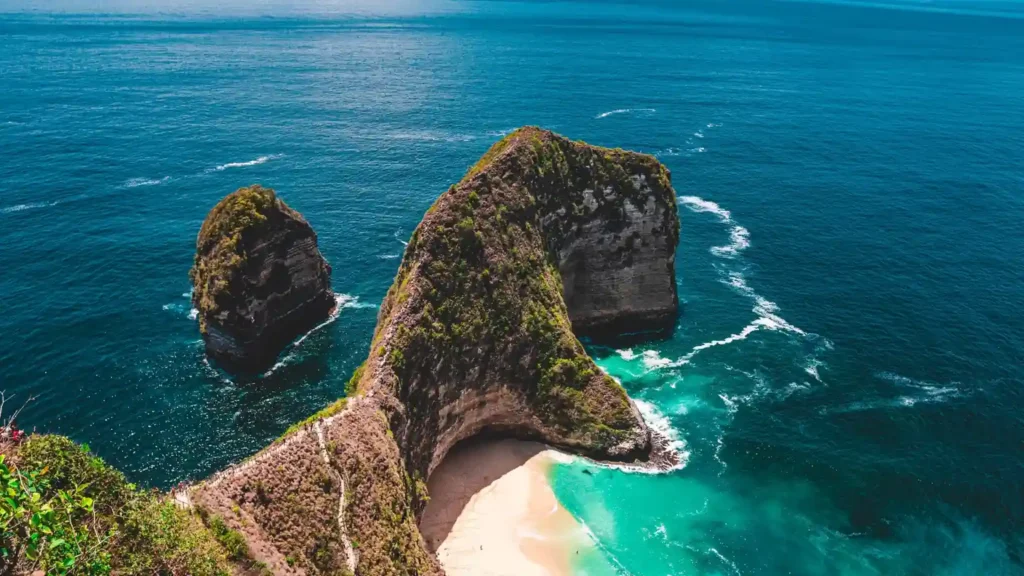
Sunrise vs Sunset Photo Experience
Sunrise wins, not even close. At 6:15 AM, you might share the viewpoint with three or four early risers. The light wraps around the cliff softly, the water below is almost glassy, and the peninsula reads as this perfect silhouette against the brightening sky.
Sunset photos look warm and cinematic, but Indian Ocean haze often flattens the color. I’ve seen sunset shots from here that look incredible and others that just look orange and muddy. Go at sunrise, which means a 4:00 AM departure from most hotels in Nusa Penida, but it’s absolutely worth it.
Comparing sunrise versus sunset conditions for photography at Kelingking:
| Factor | Sunrise (6:00–8:00 AM) | Sunset (5:30–6:30 PM) |
| Light Quality | Warm, directional, consistent | Variable, often hazy |
| Crowd Level | Very low (5–15 people) | High (50–100+ people) |
| Ocean Color | Deep blue-green | Can appear orange/flat |
| Recommended? | Strongly yes | Situational |
Drone and Wide-Angle Photography Ideas
Drone photography is technically legal here, but you need to check Bali’s current airspace regulations before flying. Zones near Nusa Penida were under partial restriction review as of late 2024. The aerial shots that circulate online show something ground-level photography simply can’t replicate: the full dinosaur head shape, the beach below, and coral reef patterns in the shallows.
DJI’s official travel photography guide (2023) recommends flying no higher than 60 meters at coastal cliff locations to maintain shot quality without losing foreground detail that gives these images their sense of scale.
- Use a polarizing filter to cut glare off the water surface
- Bracket your exposures, the dynamic range between bright sky and dark cliff is extreme
- Shoot in RAW if possible; shadow recovery in post is essential here
- For drone: fly early morning before the wind picks up off the ocean
Drone and Wide Angle Photography Ideas for Kelingking Beach: Read more in 7 Kelingking Drone Shots That Made Me See This Bali Cliff Differently.
What Lens Is Best for Kelingking Beach Photos?
A 16–24mm wide-angle lens gives the most dramatic results. On crop sensor cameras, 10–18mm is the equivalent. For phones, the 0.5x ultra-wide mode works well. Avoid zooming in from a distance; a compressed perspective loses the dramatic cliff scale that makes these shots powerful.
Tips Before Visiting for Photography
The road to Kelingking is rough. A local driver named Made told me some motorbike riders give up halfway and walk the last kilometer. If you’re carrying camera equipment, especially a tripod, rent a scooter with a basket or book a private driver.
The parking area has a small warung where you can rent a locker for valuables. The walk to the viewpoint from the parking takes about 8 minutes on a flat, paved path, manageable even with a full camera bag.
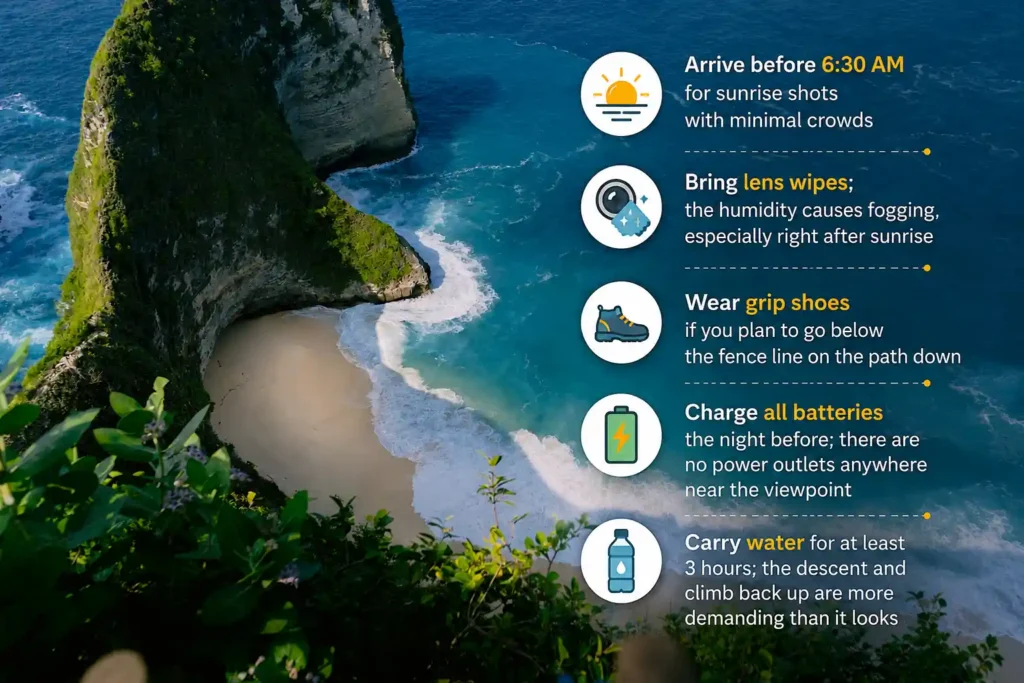
- Arrive before 6:30 AM for sunrise shots with minimal crowds
- Bring lens wipes; the humidity causes fogging, especially right after sunrise
- Wear grip shoes if you plan to go below the fence line on the path down
- Charge all batteries the night before; there are no power outlets anywhere near the viewpoint
- Carry water for at least 3 hours; the descent and climb back up are more demanding than it looks
Essential gear checklist for a successful Kelingking photography trip:
| Item | Why It Matters | Priority |
| Wide-angle lens (14–24mm) | Captures the full peninsula and ocean depth | Essential |
| Polarizing filter | Reduces water glare, deepens blue tones | Highly recommended |
| Lightweight tripod | Long exposures at sunrise/blue hour | Recommended |
| Extra batteries x2 | No charging points on site | Essential |
| Lens cleaning kit | Humidity causes fast fogging | Recommended |
| Drone (check rules first) | Aerial perspectives verify restrictions | Optional |
Common Mistakes to Avoid While Taking Photos
The biggest one is arriving at 10 AM and expecting magic. By mid-morning, the viewpoint is crowded, the light is overhead and flat, and everyone is shooting the same angle from the same position. You’ll get a fine photo. You won’t get a great one.
Second mistake: only shooting from the main viewpoint. Walk the perimeter of the fence. Take three steps left. Crouch. Look up from below the cliff edge. Photographers who get unusual shots here are the ones who keep moving after they get the obvious shot.
How Do You Avoid Crowds in Kelingking Beach Photos?
Arrive before 6:30 AM to catch the viewpoint with very few visitors. Alternatively, wait until after 5:00 PM when day-trippers have left for the ferry. Using a longer telephoto lens (70–200mm) from slightly further back also helps blur or isolate background figures. Shooting vertically at certain angles removes most foot traffic from the lower frame entirely.
Final Thoughts: A View You’ll Never Forget
There’s a reason Kelingking beach photos dominate Nusa Penida content across every platform. This place is genuinely one of the most photogenic locations in Southeast Asia, not just because of how it looks, but because of how it feels standing there.
Go early. Move around. Don’t settle for the safe shot. The cliff will do most of the work; you just have to show up with enough intention to meet it halfway.
Frequently Asked Questions
1. What is the best time of day to take Kelingking Beach photos?
Between 6:00 AM and 8:00 AM at sunrise. The light is warm, the crowds are minimal, and the ocean color is at its most vivid.
2. Can you fly a drone at Kelingking Beach?
Drones are generally permitted in the area, but regulations in Bali’s coastal zones change periodically. Always check current Indonesian DGCA rules before flying, especially given restrictions being reviewed in 2024–2025.
3. Is it safe to go down to the beach for photos?
The descent is steep and can be dangerous, especially in wet conditions. It takes about 45 minutes down and longer back up. Many experienced hikers skip it entirely in the rainy season (November–March).
4. Which phone settings are best for Kelingking Beach photos?
Use the 0.5x ultra-wide lens, enable HDR, and shoot in Pro or RAW mode if available. Lock exposure to the bright sky rather than the dark cliff to avoid overblown highlights.
5. How far is Kelingking Beach from Crystal Bay?
Approximately 6 km by road, about 20–30 minutes on a scooter. Most visitors combine both locations in a single day tour.